Watch the step-by-step cooking video at the bottom of the recipe!👇
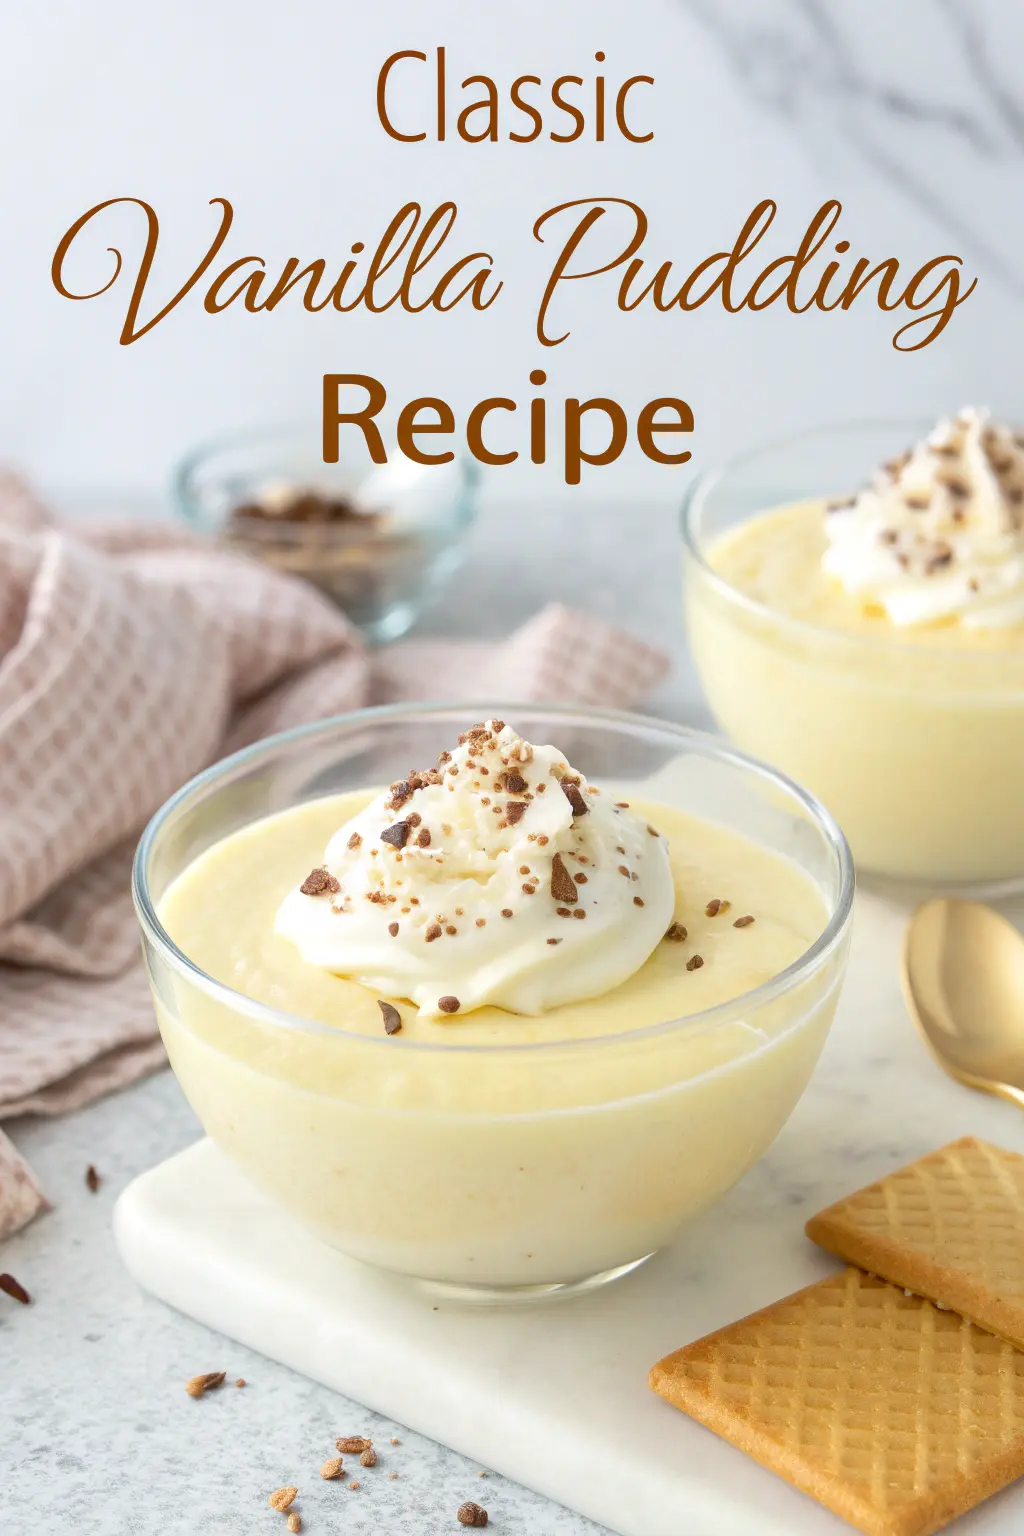
Vanilla pudding is a timeless dessert loved for its creamy texture and sweet, comforting flavor. Simple yet elegant, this dessert can be enjoyed on its own, layered in parfaits, or used as a filling for cakes and pastries. Making classic vanilla pudding at home is easy and results in a rich, velvety treat that tastes far better than store-bought versions.
Ingredients
2 1/2 cups (600ml) whole milk
1/2 cup (100g) granulated sugar
3 tablespoons cornstarch
1/4 teaspoon salt
3 large egg yolks
2 tablespoons unsalted butter
2 teaspoons pure vanilla extract
Preparation Steps
Step 1: Mix Dry Ingredients
In a medium saucepan, combine sugar, cornstarch, and salt.
Step 2: Whisk in Milk and Egg Yolks
Gradually whisk in 2 cups of milk and the egg yolks until smooth.
Add the remaining 1/2 cup of milk separately and stir well.
Step 3: Cook the Pudding
Place the saucepan over medium heat.
Cook, stirring constantly, until the mixture thickens and begins to boil, about 5–7 minutes.
Once thickened, remove from heat.
Step 4: Add Butter and Vanilla
Stir in butter and vanilla extract until fully incorporated and smooth.
Step 5: Chill the Pudding
Pour the pudding into individual serving dishes or a large bowl.
Cover with plastic wrap, pressing it directly onto the surface to prevent a skin from forming.
Refrigerate for at least 2 hours until chilled and set.
Step 6: Serve
Enjoy as is or top with whipped cream, fresh fruit, or a sprinkle of cinnamon for extra flavor.
Tips for Perfect Vanilla Pudding
Stir constantly to prevent lumps and ensure a smooth texture.
For a richer pudding, substitute part of the milk with cream.