Watch the step-by-step cooking video at the bottom of the recipe!👇
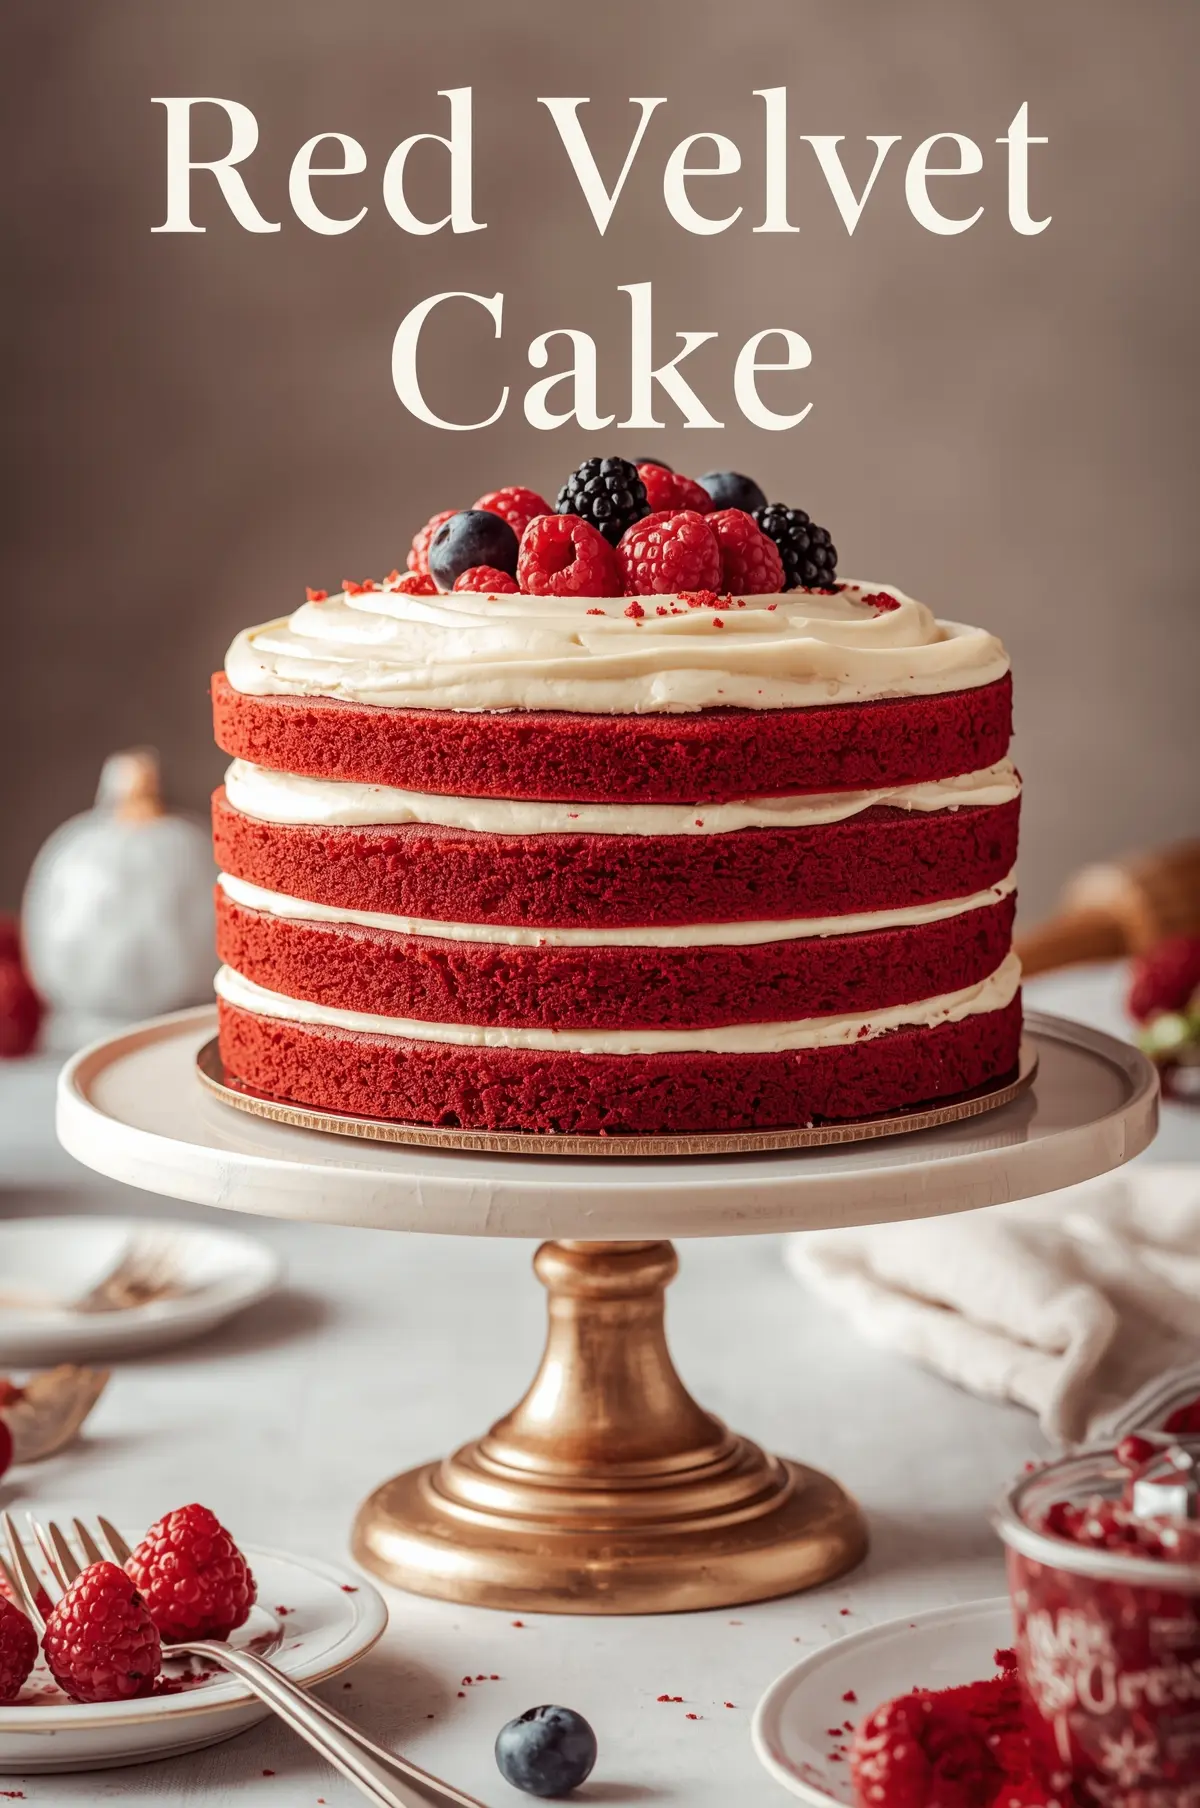
Red velvet cake is a timeless dessert, known for its striking red color, moist texture, and subtle cocoa flavor. Topped with rich cream cheese frosting, this cake is perfect for birthdays, holidays, or any special occasion. With its vibrant appearance and luscious taste, making a classic red velvet cake at home is easier than you think.
Ingredients
For the Cake:
2 1/2 cups (315g) all-purpose flour
1 1/2 cups (300g) granulated sugar
1 teaspoon baking soda
1 teaspoon cocoa powder
1/2 teaspoon salt
1 1/2 cups (360ml) vegetable oil
1 cup (240ml) buttermilk, room temperature
2 large eggs, room temperature
2 tablespoons red food coloring
1 teaspoon vanilla extract
1 teaspoon white vinegar
For the Cream Cheese Frosting:
8 ounces (225g) cream cheese, softened
1/2 cup (115g) unsalted butter, softened
4 cups (500g) powdered sugar
1 teaspoon vanilla extract
Preparation Steps
Step 1: Preheat and Prepare Pans
Preheat your oven to 350°F (175°C).
Grease and flour two 9-inch round cake pans or line them with parchment paper.
Step 2: Mix Dry Ingredients
In a medium bowl, whisk together flour, cocoa powder, baking soda, and salt.
Set aside.
Step 3: Mix Wet Ingredients
In a large bowl, combine sugar and vegetable oil until smooth.
Add eggs, one at a time, beating well after each addition.
Mix in red food coloring, vanilla extract, and vinegar.
Gradually add the dry ingredients, alternating with buttermilk, until fully combined.
Step 4: Bake the Cake
Divide the batter evenly between the prepared pans.
Bake for 25–30 minutes, or until a toothpick inserted into the center comes out clean.
Allow the cakes to cool in the pans for 10 minutes before transferring to a wire rack to cool completely.
In a large bowl, beat the softened cream cheese and butter until smooth and creamy.
Gradually add powdered sugar and beat until fluffy.
Stir in vanilla extract.
Step 6: Assemble the Cake
Place one cake layer on a serving plate and spread a layer of frosting on top.
Place the second cake layer on top and frost the entire cake evenly.
Decorate as desired with cake crumbs, sprinkles, or piping designs.
Tips for the Perfect Red Velvet Cake
Use room-temperature ingredients for smoother batter and even baking.
Avoid overmixing to maintain a tender texture.
For a more vibrant color, use gel-based food coloring instead of liquid.
This Classic Red Velvet Cake is moist, flavorful, and visually stunning, making it the perfect centerpiece for any celebration. With its signature cream cheese frosting and beautiful red hue, it’s sure to delight everyone at the table.