Watch the step-by-step cooking video at the bottom of the recipe!👇
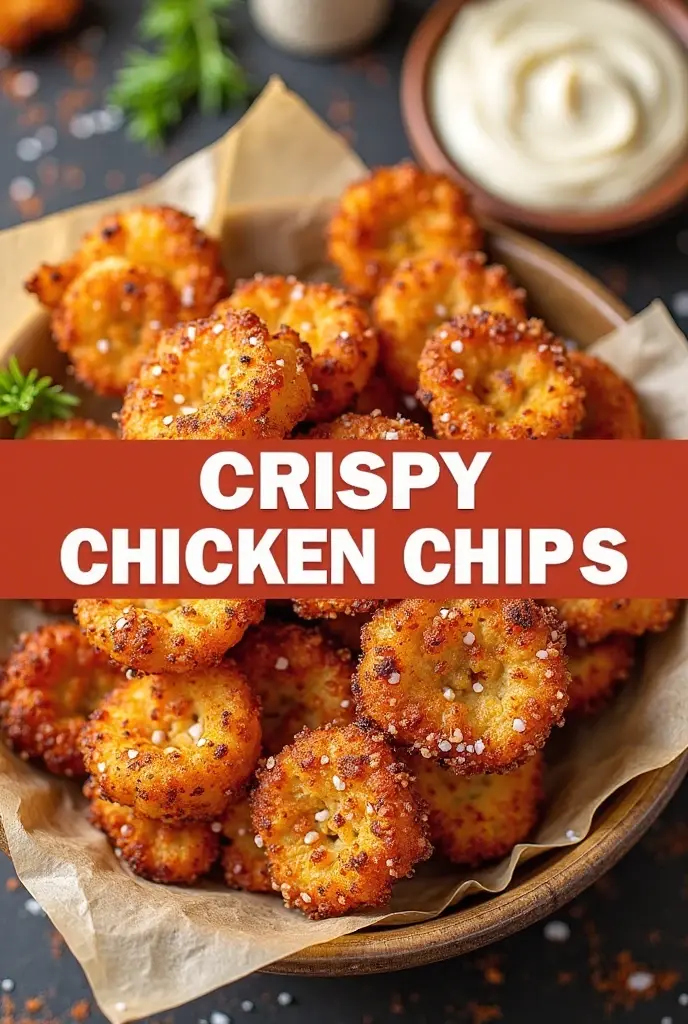
If you love crunchy snacks, Easy Homemade Crispy Chicken Chips are a perfect treat. Made from thinly sliced chicken, these chips are crispy, flavorful, and healthier than store-bought fried snacks. They’re great as a protein-packed snack, party appetizer, or a crunchy topping for salads and soups. With a few simple ingredients, you can make this delicious snack right at home.
Ingredients
2 large chicken breasts
2 tablespoons olive oil
1 teaspoon garlic powder
1 teaspoon smoked paprika
1/2 teaspoon salt
1/4 teaspoon black pepper
Optional: chili powder or cayenne pepper for extra spice
Preparation Steps
Step 1: Prepare the Chicken
Slice the chicken breasts very thinly, about 1/8 inch thick, for maximum crispiness.
Pat the slices dry with paper towels to remove excess moisture.
Step 2: Season the Chicken
In a bowl, combine olive oil, garlic powder, smoked paprika, salt, pepper, and optional chili powder.
Toss the chicken slices in the seasoning mixture until evenly coated.
Step 3: Bake or Air Fry the Chicken
Oven Method:
Preheat your oven to 400°F (200°C).
Arrange the chicken slices in a single layer on a baking sheet lined with parchment paper.
Bake for 12–15 minutes, flipping halfway through, until the chicken slices are golden and crispy.
Air Fryer Method:
Preheat the air fryer to 375°F (190°C).
Place chicken slices in the basket in a single layer.
Air fry for 8–10 minutes, flipping halfway, until crispy.
Step 4: Serve
Let the chicken chips cool slightly—they will crisp up further as they cool.
Serve as a snack, with dips, or as a crunchy topping for salads.
Slice the chicken as thinly as possible for the crispiest results.
Pat the chicken dry to remove excess moisture before seasoning.
Experiment with different spices like curry powder, Cajun seasoning, or Italian herbs.
These Easy Homemade Crispy Chicken Chips are crunchy, flavorful, and perfect for snacking anytime. Enjoy a protein-packed, homemade treat without the guilt of deep-fried snacks!