Watch the step-by-step cooking video at the bottom of the recipe!👇
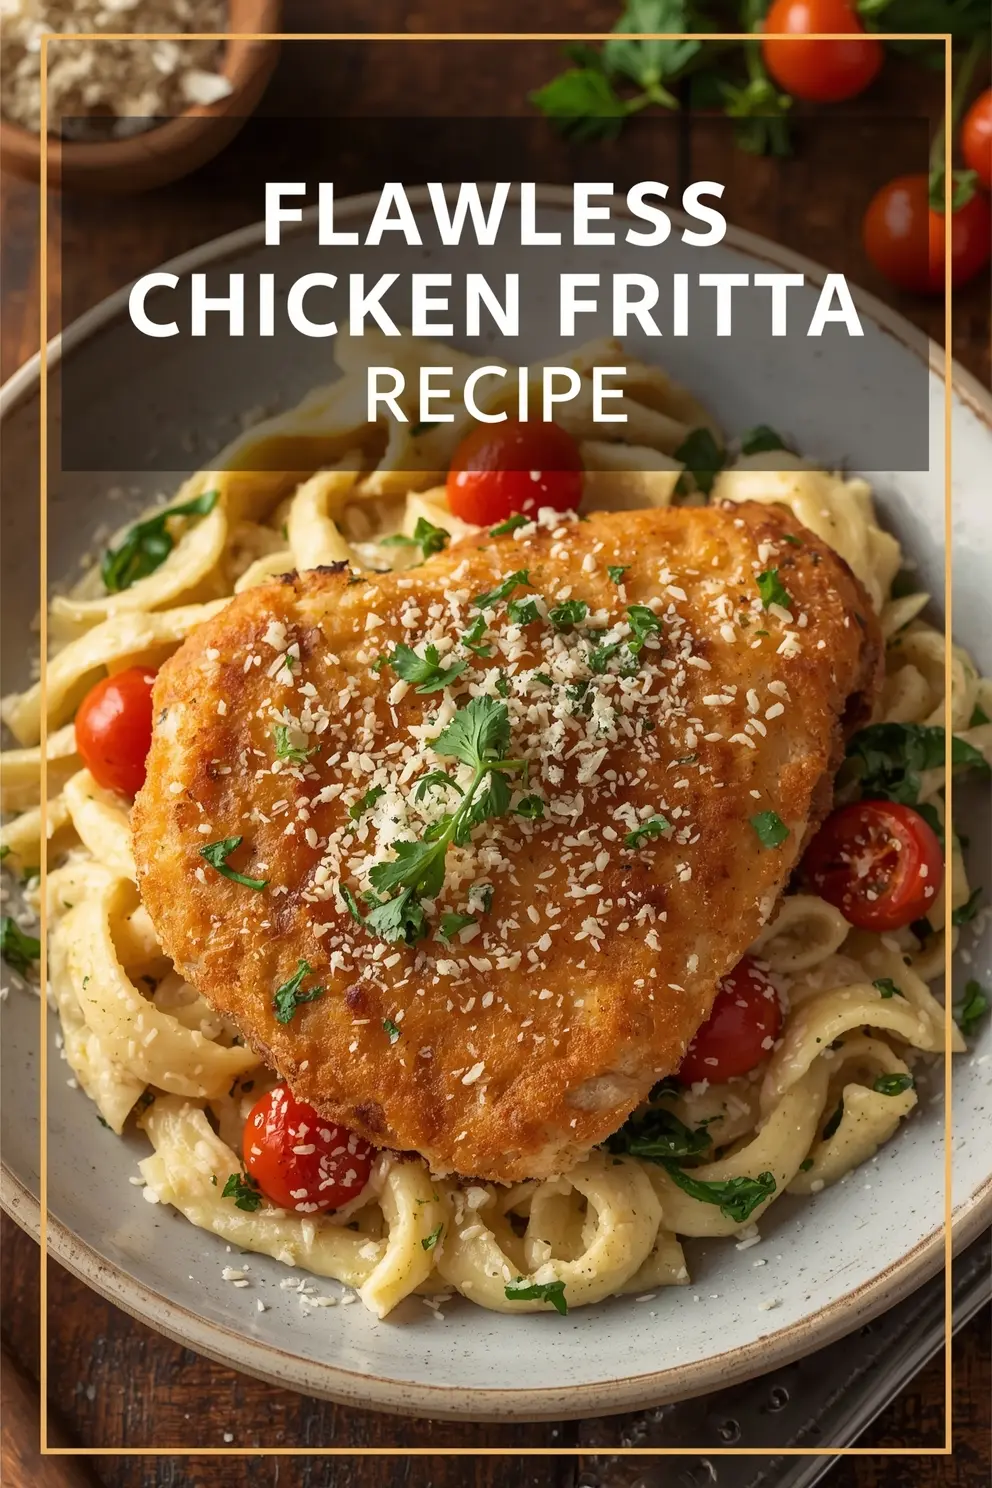
Looking for a crispy, flavorful chicken dish that’s perfect for lunch or dinner? This Flawless Chicken Fritta Recipe delivers tender, juicy chicken coated in a golden, crunchy crust. Easy to prepare and full of flavor, it’s a recipe that will impress family and friends alike. Perfect as a main dish, sandwich filling, or appetizer, this chicken fritta is a must-try in your kitchen.
Ingredients
2 boneless, skinless chicken breasts
1 cup all-purpose flour
2 large eggs, beaten
1 cup breadcrumbs (Italian seasoned preferred)
1/2 cup grated Parmesan cheese
1 teaspoon garlic powder
1 teaspoon paprika
1/2 teaspoon salt
1/2 teaspoon black pepper
Olive oil or vegetable oil, for frying
Optional: lemon wedges for serving
Optional: fresh parsley, chopped, for garnish
Preparation Steps
Step 1: Prepare the Chicken
Slice the chicken breasts horizontally to create thinner cutlets for faster cooking.
Season each cutlet with salt, pepper, paprika, and garlic powder.
Step 2: Set Up the Breading Station
Place flour in one shallow bowl.
Beat the eggs in a second bowl.
Mix breadcrumbs and Parmesan cheese in a third bowl.
Step 3: Bread the Chicken
Dredge each chicken cutlet in flour, shaking off any excess.
Dip into the beaten eggs, then coat evenly with the breadcrumb-Parmesan mixture.
Press the breadcrumbs gently to ensure they stick to the chicken.
Step 4: Cook the Chicken
Heat oil in a large skillet over medium-high heat.
Fry the chicken cutlets for 3–4 minutes per side until golden brown and cooked through.
Remove from the skillet and drain on paper towels.