Watch the step-by-step cooking video at the bottom of the recipe!👇
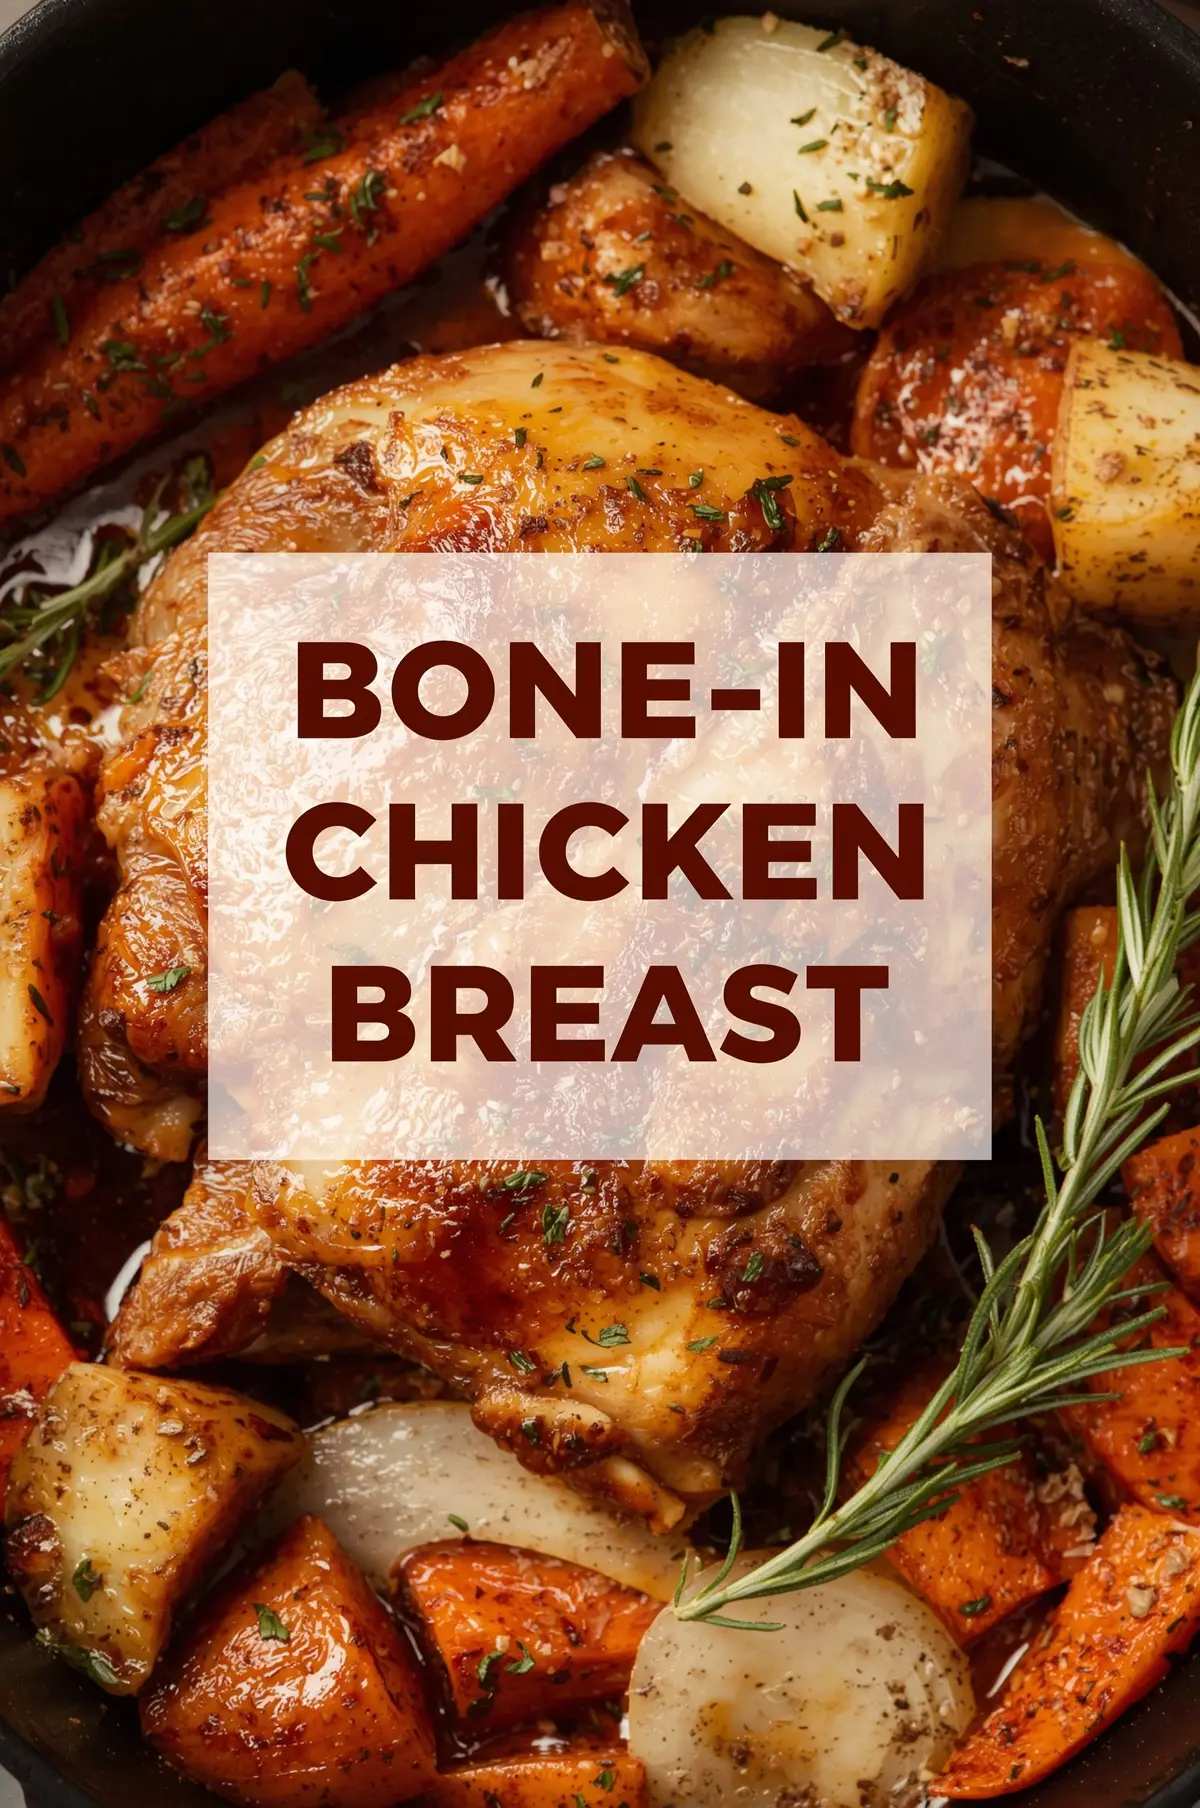
Bone-in chicken breasts are a classic choice for a juicy and flavorful meal. The bone helps retain moisture, keeping the meat tender while adding extra depth of flavor. This Bone-In Chicken Breast Recipe is simple, easy to follow, and perfect for weeknight dinners or special occasions. With minimal ingredients, you can make a delicious, golden-brown chicken that everyone will love.
Ingredients
2 bone-in, skin-on chicken breasts
2 tablespoons olive oil or melted butter
1 teaspoon garlic powder
1 teaspoon paprika
1 teaspoon dried thyme or rosemary
1/2 teaspoon salt
1/2 teaspoon black pepper
Optional: lemon wedges for serving
Optional: fresh herbs for garnish
Preparation Steps
Step 1: Prepare the Chicken
Pat the chicken breasts dry with paper towels to remove excess moisture.
Rub olive oil or melted butter all over the chicken.
Season with garlic powder, paprika, thyme or rosemary, salt, and black pepper.
Step 2: Preheat the Oven
Preheat your oven to 400°F (200°C).
Line a baking dish with foil or parchment paper for easy cleanup.
Step 3: Roast the Chicken
Place the chicken breasts skin-side up in the prepared baking dish.
Roast in the oven for 35–45 minutes, depending on the size of the chicken breasts.
Check for doneness—the internal temperature should reach 165°F (75°C).
Step 4: Rest and Serve
Remove the chicken from the oven and let it rest for 5–10 minutes to allow the juices to redistribute.
Garnish with fresh herbs and serve with lemon wedges if desired.
Pair with roasted vegetables, mashed potatoes, or a fresh salad for a complete meal.