Physical Address
304 North Cardinal St.
Dorchester Center, MA 02124
Physical Address
304 North Cardinal St.
Dorchester Center, MA 02124
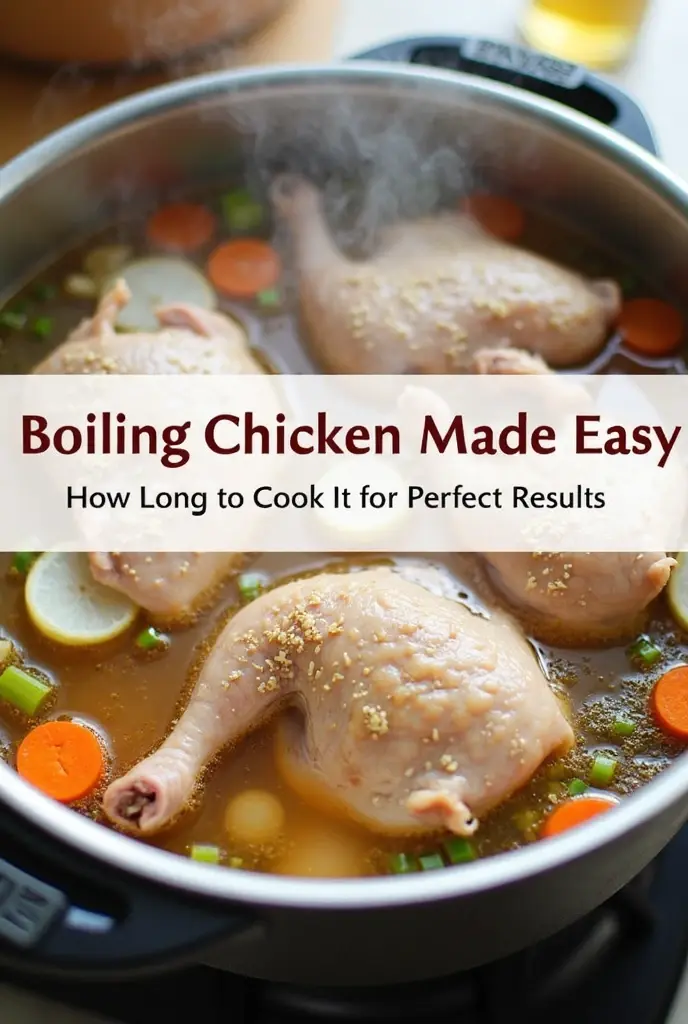
Picture this scenario: You’re rushing through your evening routine, hungry family members waiting expectantly, and you’re staring at that package of chicken wondering exactly how long it needs to simmer. Sound familiar? That moment of kitchen uncertainty doesn’t have to derail your dinner plans anymore. Learning the precise timing for boiling chicken transforms this common cooking challenge into your secret weapon for quick, nutritious meals that satisfy everyone at your table.
Whether you’re navigating parenthood’s hectic schedule or building your culinary confidence from scratch, mastering chicken preparation through boiling opens doors to countless meal possibilities while keeping your grocery budget intact.
Boiling chicken stands out among cooking methods for several compelling reasons that make it worth your time and attention. This technique delivers consistent results without requiring expensive equipment or advanced skills, making it accessible regardless of your cooking experience level.
Your health benefits significantly from this low-fat preparation method. Unlike frying or roasting with oils, boiling preserves the protein content while minimizing added calories. This approach works particularly well when you’re managing weight, following specific dietary requirements, or simply want to maintain nutritious eating habits without sacrificing flavor.
Time efficiency becomes another major advantage during busy weekdays. Once you understand the proper timing, boiled chicken requires minimal active attention, freeing you to handle other tasks while your protein cooks to perfection.
Your kitchen likely already contains everything necessary for excellent boiled chicken:
| Ingredient | Quantity | Purpose |
|---|---|---|
| Chicken pieces or whole bird | 2-4 pounds | Primary protein |
| Cold water | Sufficient to cover by 2 inches | Cooking medium |
| Kosher salt | 1-2 tablespoons | Flavor enhancement |
| Bay leaves | 2-3 pieces | Aromatic depth |
| Black peppercorns | 1 teaspoon | Subtle spice |
| Yellow onion, quartered | 1 medium | Natural sweetness |
| Celery stalks with leaves | 2-3 pieces | Fresh aromatics |
| Carrots, roughly chopped | 2 medium | Additional flavor |
Understanding exact cooking times prevents both undercooked dangers and overcooked disappointment. Your success depends on matching the timing to your specific chicken cut.
| Chicken Cut | Average Weight | Cooking Duration | Target Temperature |
|---|---|---|---|
| Whole chicken | 3-4 pounds | 60-75 minutes | 165°F (74°C) |
| Bone-in breasts | 6-8 ounces each | 25-30 minutes | 165°F (74°C) |
| Boneless breasts | 4-6 ounces each | 15-20 minutes | 165°F (74°C) |
| Bone-in thighs | 4-6 ounces each | 30-35 minutes | 165°F (74°C) |
| Boneless thighs | 3-4 ounces each | 20-25 minutes | 165°F (74°C) |
| Drumsticks | 3-4 ounces each | 25-30 minutes | 165°F (74°C) |
Several factors influence these base timing recommendations. Thicker pieces naturally require additional cooking time, while smaller cuts finish faster than anticipated. Starting temperature matters significantly – frozen chicken needs approximately 50% longer than thawed pieces.
Your altitude affects boiling temperatures and cooking times. Higher elevations require longer cooking periods due to lower atmospheric pressure affecting water’s boiling point.
Begin by ensuring your chicken reaches room temperature if previously refrigerated. This promotes even cooking throughout the meat. Rinse each piece under cold running water, then pat completely dry using paper towels.
Season generously with salt and pepper, allowing these basic seasonings to penetrate the surface. Prepare your aromatic vegetables by cutting them into large pieces – you’ll strain these out later, so precise cuts aren’t necessary.
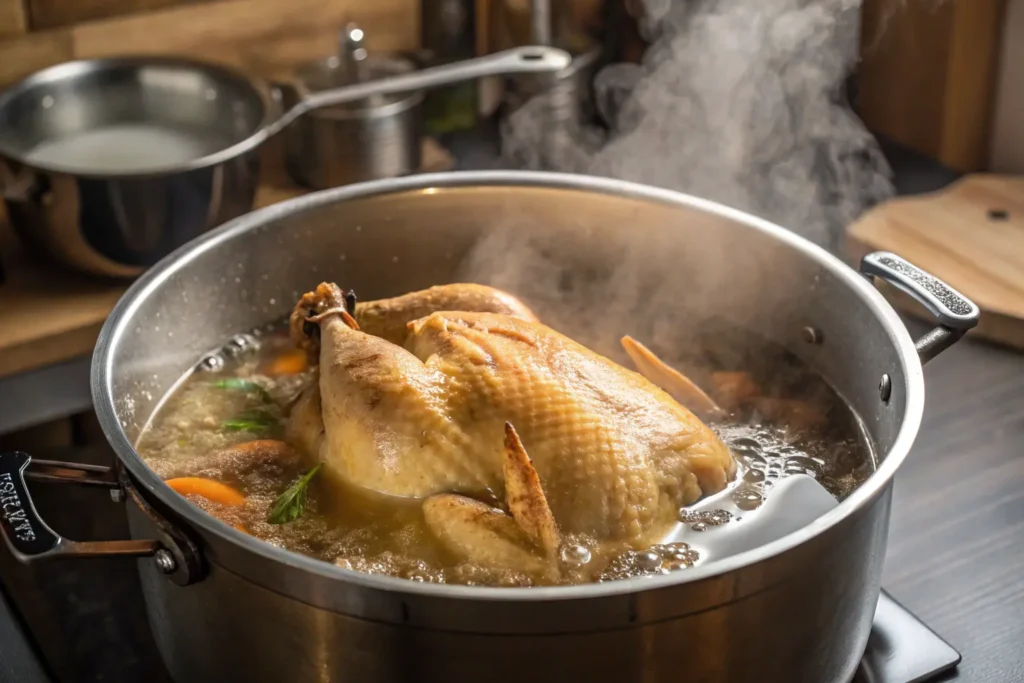
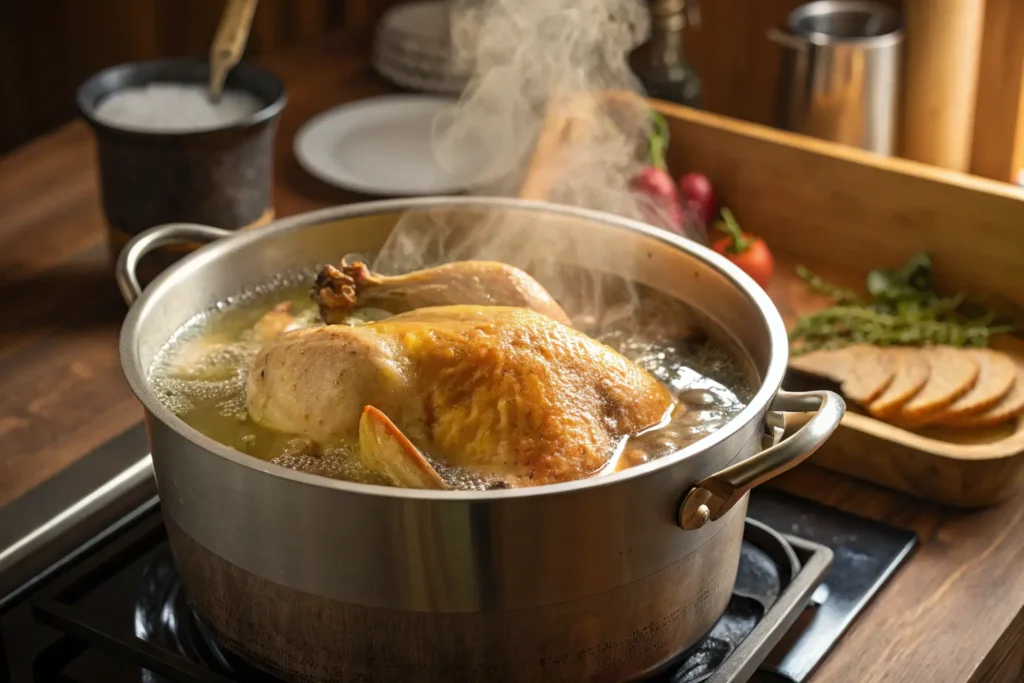
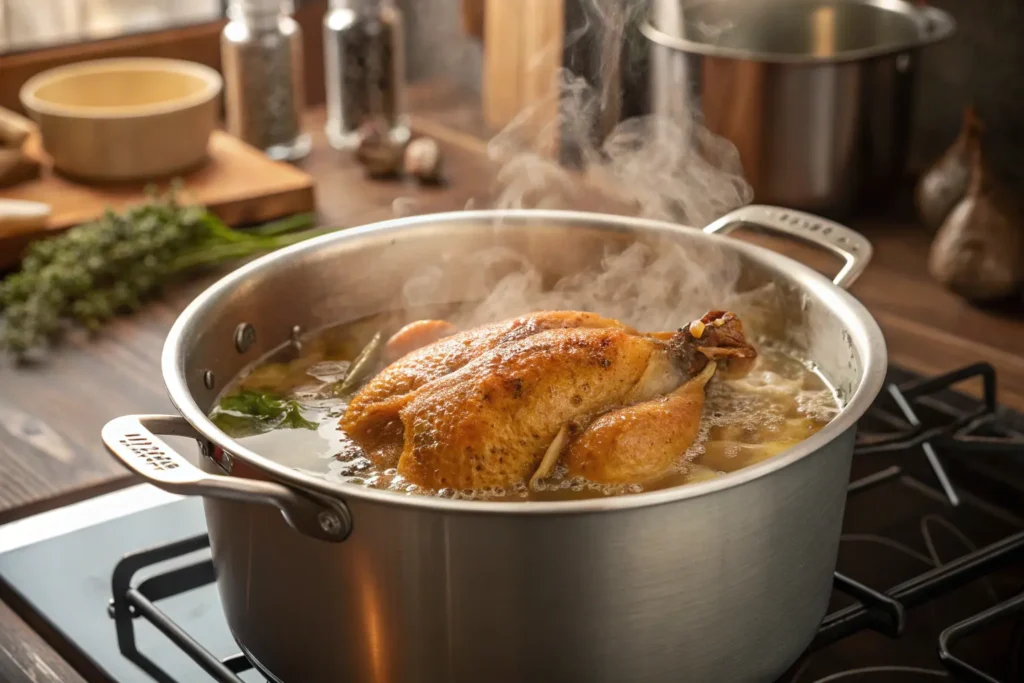
Place your seasoned chicken into your chosen pot, then cover completely with cold water. This cold-start method ensures gentle, even cooking from the outside in. Add your aromatic vegetables and seasonings to the water.
Bring everything to a rolling boil over high heat, then immediately reduce to maintain a gentle simmer. This crucial step prevents tough, rubbery results that occur when chicken cooks too aggressively.
Cover your pot partially, leaving a small gap for steam to escape. This maintains consistent temperature while preventing excessive evaporation.
Set your timer according to the chart above, but remember that these are guidelines. Your meat thermometer provides the final authority on doneness.
Insert your thermometer into the thickest portion of each piece, avoiding bones which can give false readings. The internal temperature must reach 165°F throughout for food safety.
Visual cues also indicate doneness. Properly cooked chicken releases clear juices when pierced, and the meat separates easily from bones. Any pink coloring, especially near bones, indicates additional cooking time is needed.
Your success rate improves dramatically when you sidestep these frequent errors that lead to disappointing results.
Temperature Management Mistakes:
Flavor Enhancement Oversights:
Transform your basic boiled chicken into restaurant-quality results with these advanced techniques that professional chefs use regularly.
Consider brining your chicken 2-4 hours before cooking. This salt-water solution penetrates deep into the meat, ensuring moisture retention and enhanced flavor throughout.
Replace plain water with chicken stock for richer taste. Adding a splash of white wine or fresh lemon juice during the final minutes brightens the overall flavor profile significantly.
Fresh herbs like thyme, rosemary, or parsley added during the last 10 minutes infuse subtle complexity without overwhelming the natural chicken taste.
Maintaining gentle simmering rather than vigorous boiling preserves tender texture. Rapid boiling causes proteins to contract aggressively, resulting in tough, stringy meat.
Allow cooked chicken to rest 5-10 minutes after removing from heat. This brief period lets juices redistribute throughout the meat, ensuring moist results when you slice or shred.
Your expertly boiled chicken opens numerous meal possibilities that stretch your time and budget effectively.
Immediate Serving Ideas:
Meal Prep Advantages: Store cooled chicken in airtight containers for 3-4 days refrigerated, or freeze portions for up to three months. Proper labeling with dates ensures you use the oldest portions first.
The cooking liquid shouldn’t go to waste – strain and refrigerate it as homemade chicken stock for future soups, stews, or cooking grains.
When results don’t match your expectations, these solutions address the most frequent problems home cooks encounter.
Dry, Stringy Texture: Reduce cooking time and lower heat intensity. Overcooking is the primary culprit behind disappointing texture.
Bland Flavor: Season your cooking water more generously, and consider brining beforehand. The chicken absorbs flavors from its cooking environment.
Uneven Cooking: Start with cold water and maintain consistent heat. Pieces of similar size cook more evenly than mixed sizes.
How long does boneless chicken breast take to boil? Boneless breasts typically finish in 15-20 minutes, depending on thickness. Always verify with a thermometer reading of 165°F.
Can frozen chicken be boiled directly? Yes, but increase cooking time by approximately 50%. Ensure thorough cooking by checking multiple spots with your thermometer.
What’s the secret to moist boiled chicken? Start with cold water, maintain gentle simmering, avoid overcooking, and let the meat rest after cooking. Brining beforehand also helps significantly.
How do I know when boiled chicken is completely done? A meat thermometer reading 165°F in the thickest part confirms doneness. Clear juices and easy bone separation also indicate proper cooking.
Mastering the timing and technique for boiling chicken eliminates kitchen guesswork and provides a reliable foundation for countless meals. These skills extend beyond single recipes, building your overall cooking confidence through understanding rather than memorization.
Your family will appreciate the consistently tender, flavorful results, while you’ll enjoy the flexibility and convenience this technique provides during busy periods.
Start practicing with your preferred chicken cuts this week. Pay attention to timing, use your thermometer consistently, and don’t be afraid to adjust based on your specific preferences and equipment.
Ready to transform your chicken cooking game? Grab your thermometer, select your favorite cut, and put these techniques into practice tonight. Your future self will thank you for developing this essential culinary skill that serves you well for years to come.