Physical Address
304 North Cardinal St.
Dorchester Center, MA 02124
Physical Address
304 North Cardinal St.
Dorchester Center, MA 02124
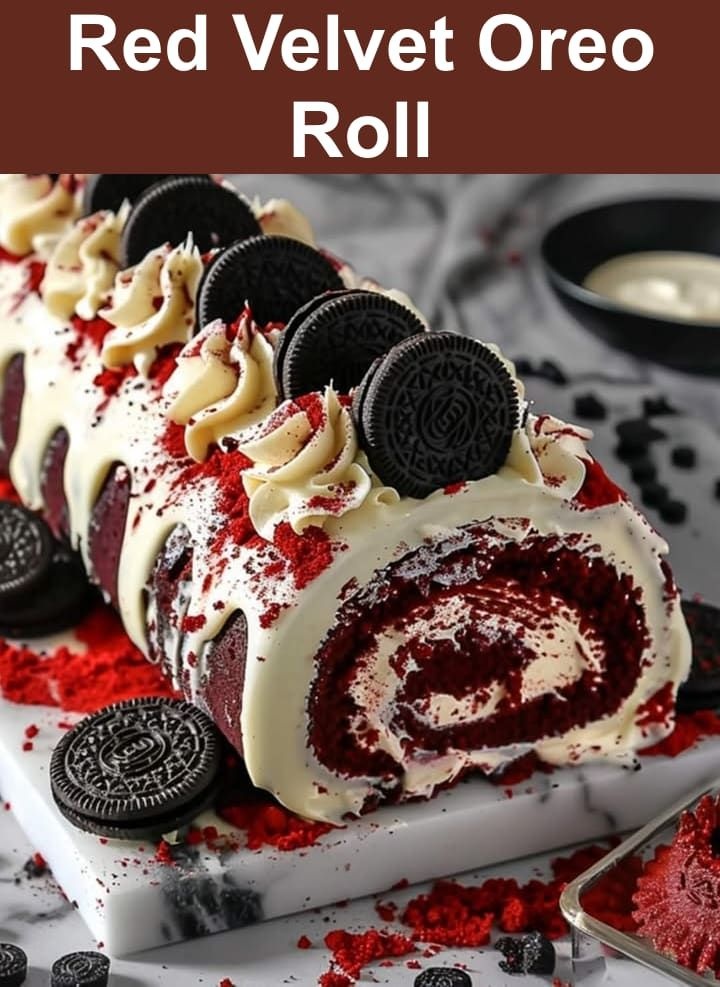
There is something undeniably nostalgic about the rhythmic swirl of a cake roll. It likely pulls you back to a specific memory—perhaps standing in a sun-drenched kitchen, watching an expert hand nervously but surely flip a delicate sponge onto a powdered sugar-dusted towel. That breathless moment of “will it crack?” always held a quiet, sugary magic.
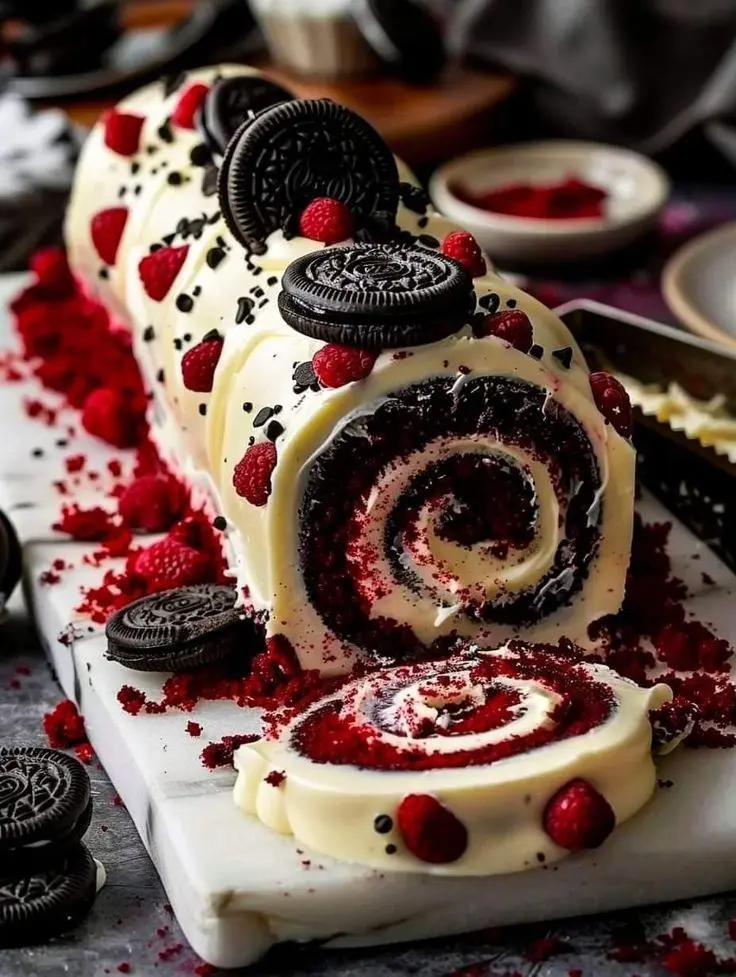
This Red Velvet Oreo Swiss Roll Cake takes that classic nostalgia and elevates it into something modern and decadent. It isn’t just another dessert; it’s a masterclass in contrasting textures. You get the velvet-soft, cocoa-infused sponge, that iconic crimson hue, and the unmistakable, gritty crunch of Oreo cookies nestled within a cloud of tangy cream cheese frosting. Whether you are prepping for a romantic Valentine’s date, a festive holiday spread, or simply a “just because” weekend project, this recipe ensures your kitchen feels like a high-end gourmet bakery.
Before you preheat your oven, let’s talk about why this specific bake deserves a spot in your recipe tin. Most people settle for a standard layer cake, but the Swiss roll offers a level of sophistication that looks far more difficult than it actually is.
Success in the kitchen starts with your mise en place. For a flexible, crack-free sponge, you want to ensure your cold ingredients—like eggs and buttermilk—have spent some time on the counter reaching room temperature. This allows for better emulsification and a smoother batter.
| Ingredient | Quantity | Purpose |
| Large Eggs | 4 (Room Temp) | Provides the essential structure and lift |
| Granulated Sugar | 3/4 Cup | Adds moisture and breaks down flour proteins |
| Buttermilk | 2 tbsp | Provides that signature “Red Velvet” tang |
| All-Purpose Flour | 3/4 Cup | The foundational skeleton of the cake |
| Dark Cocoa Powder | 2 tbsp | Adds a hint of chocolate without drying the cake |
| Red Food Coloring | 1-2 tbsp | Achieves that vibrant, classic crimson look |
| Vanilla Extract | 1 tsp | Enhances the cocoa and sugar notes |
| Ingredient | Quantity | Purpose |
| Cream Cheese | 8 oz (Full Fat) | The tangy, velvety base for the filling |
| Heavy Whipping Cream | 1/2 Cup | Lightens the density for a “mousse” feel |
| Powdered Sugar | 1 Cup | Sweetens and provides stability |
| Oreo Cookies | 12 (Coarsely Crushed) | The star “crunch” factor and flavor anchor |
Don’t let the fear of cracking hold you back. The secret isn’t in some hidden ingredient; it’s all in the timing and the temperature. Follow these steps closely to ensure a professional-grade finish.
Start by whisking your eggs and sugar at a high speed. You are looking for the “ribbon stage”—where the mixture is pale, thick, and leaves a trail when you lift the whisk. Sift in your flour and cocoa powder to avoid lumps. Gently fold these in, along with your buttermilk and food coloring. You want to keep as much air in the batter as possible.
Pour the batter into a $10 \times 15$ inch jelly roll pan that has been greased and lined with parchment paper. Smooth it out to the edges. Bake at 350°F (180°C) for just 12 to 15 minutes. It should spring back when touched.
This is the most critical phase. While the cake is still steaming hot, you must act. Lay out a clean kitchen towel and dust it generously with cocoa powder or powdered sugar. Invert the cake onto the towel and peel off the parchment paper.
Starting from the short end, gently roll the cake and the towel together. This “trains” the cake fibers to hold a curve while they are still flexible. Set this aside to cool completely. If you skip this, the cooled cake will resist rolling later and shatter like glass.
While your cake sets, beat your softened cream cheese and powdered sugar until smooth. In a separate bowl, whip your heavy cream to stiff peaks, then fold it into the cream cheese. Finally, fold in your crushed Oreos. You want some “cookie dust” for flavor and some “cookie chunks” for that satisfying bite.
Carefully unroll your cooled cake. It will have a slight wave to it, which is perfect. Spread your filling evenly, leaving about a half-inch border at the edges. Roll it back up (this time without the towel!). Wrap the finished log tightly in plastic wrap to help it keep its shape.
Absolutely. This is a fantastic “make-ahead” dessert. You can bake and fill the cake 24 hours before you plan to serve it. In fact, the moisture from the filling often softens the sponge even further, making it melt in your mouth.
If it cracks, it usually means the cake lost too much moisture. This happens if the oven was too hot or if the cake sat too long before being rolled. However, don’t toss it out! You can easily mask any imperfections with a chocolate ganache drizzle or a few extra dollops of whipped cream and crushed Oreo bits.
While the Red Velvet Oreo Swiss Roll Cake is designed around that specific chocolate-cream pairing, you can get creative. Mint Oreos offer a refreshing holiday twist, while Golden Oreos provide a buttery, vanilla-forward alternative.
The true beauty of this Red Velvet Oreo Swiss Roll Cake RECIPE is that it looks like a feat of engineering but tastes like a comforting home-cooked treat. By mastering the “hot roll” technique and balancing your textures, you’ve created a showstopper that is as delicious as it is photogenic.
Now that you have the blueprint, it’s time to head to the kitchen. Put on your favorite playlist, tie your apron strings, and get ready to impress everyone at the table.