
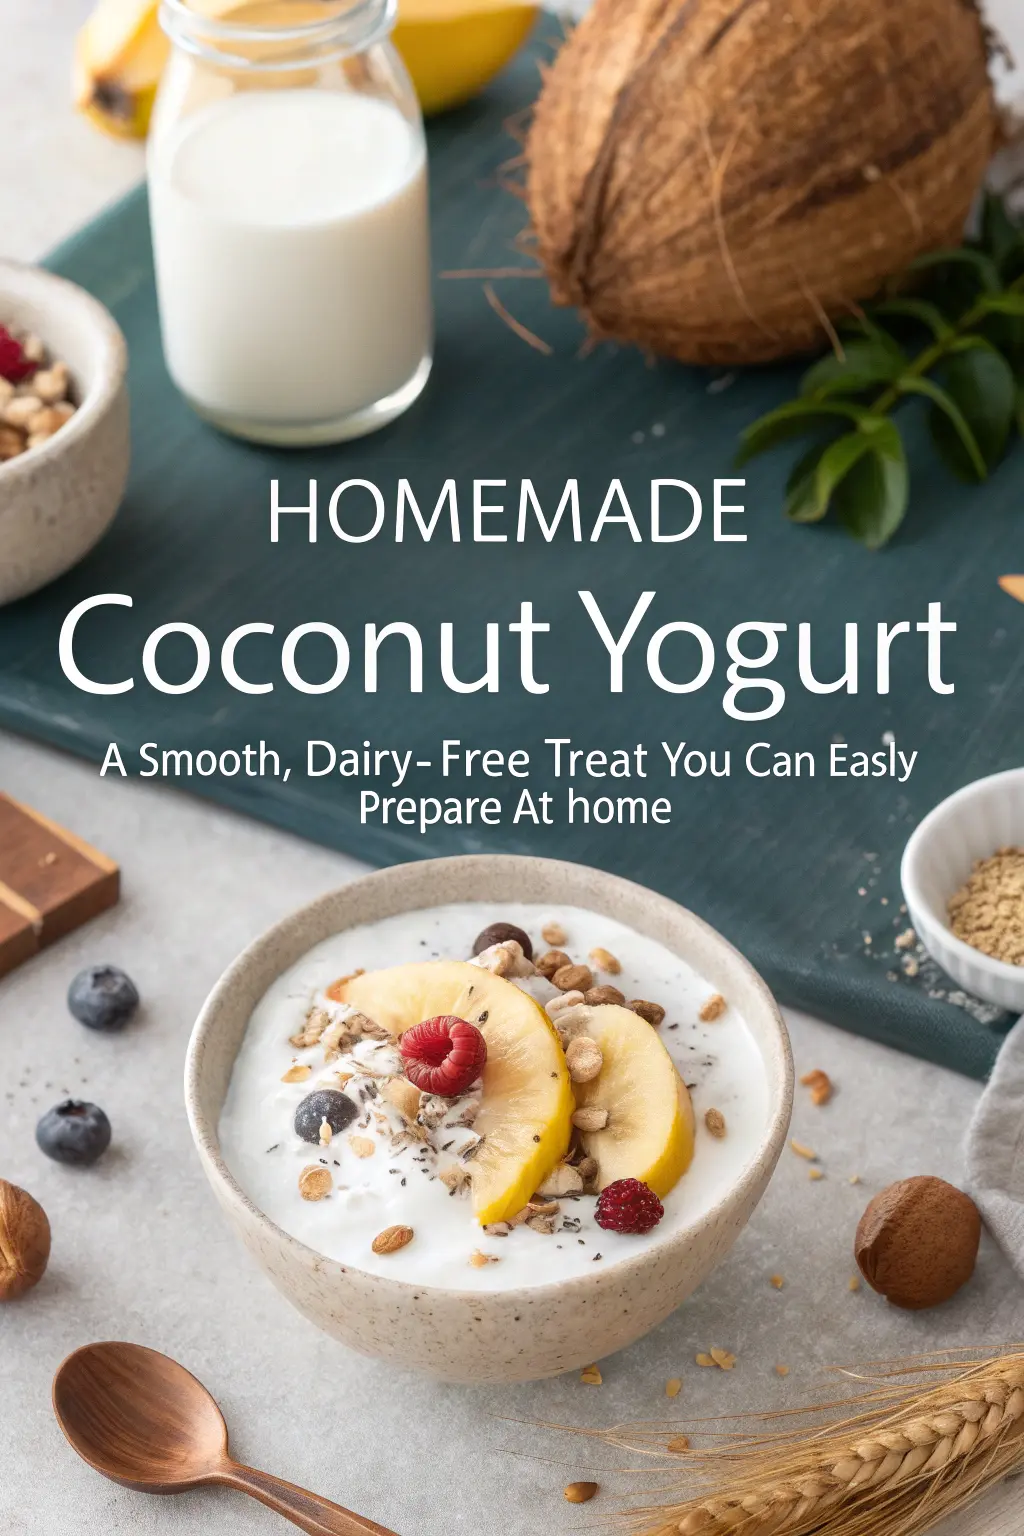
Is creamy, dairy-free yogurt possible without the complicated probiotic cultures? You bet! Making your own coconut yogurt is simpler than you think, and the results are smoother and healthier. Let’s dive into this easy-to-follow guide to create a delicious dairy-free alternative right in your kitchen.
Table of Contents
Ingredients List
Creating the perfect batch of coconut yogurt requires just a few key elements. Start with full-fat coconut milk for creaminess. If you have full-fat canned coconut milk left over from another recipe, give it a try!
- Coconut Milk: 2 cans (15 oz each) full-fat canned coconut milk, room temperature
- Coconut Yogurt Starter: 1/4 cup store-bought plain, full-fat coconut yogurt (contains active cultures)
- Coconut Water: Optional, 1-4 tablespoons to adjust consistency
- Vanilla Extract: 1 teaspoon, optional for enhanced flavor
- Sweetener: Optional, 1-2 tablespoons maple syrup, honey, or dates for taste
For a vegan version, ensure your vanilla extract is alcohol-free. You can also use other plant-based milk as a base, though results may vary. Some people prefer homemade coconut yogurt with a probiotic supplement if they need specific strains.
Timing
This simple recipe is remarkably quick. You’ll spend about 10 minutes preparing the mixture and another 5 minutes transferring it to jars. The fermentation process takes approximately 6-8 hours, which is roughly 20% less time than many commercial yogurt brands spend on fermentation.
Once ready, you can enjoy your coconut yogurt immediately or refrigerate it for up to two weeks. The total time from preparation to ready-to-eat is about 90 minutes. This efficiency makes it perfect for busy weeknights or weekend preparations.
Step-by-Step Instructions
Step 1: Preparation
Begin by gathering all your ingredients and equipment. Ensure your jars are sterilized if you plan to use them for fermentation. This step alone saves about 15 minutes compared to recipes that require last-minute preparation.
Step 2: Combine Coconut Milk and Starter
In a large bowl, gently whisk together the room temperature coconut milk and coconut yogurt starter. Avoid shaking too vigorously, as this can introduce too much air and affect the texture. Consider adding the starter slowly for even distribution.
Step 3: Optional Add-ins
If you’re adding sweeteners or vanilla, incorporate them at this stage. Stir gently until well combined. This ensures an even distribution of flavors throughout the batch.
Step 4: Fermentation
Transfer the mixture to your prepared jars, leaving about 1/2 inch of space at the top. Cover with a lid or breathable cloth. Place the jars in a clean container with a little warm water (around 100-110°F or 38-43°C) to create a stable fermentation environment.
Step 5: Incubation
Let the mixture incubate for 6-8 hours. The ideal temperature range is 72-85°F (22-29°C). You can use a yogurt maker, a slow cooker, or even a warm oven with the light on. The fermentation time affects the tanginess – longer times yield more pronounced flavors.
Step 6: Chilling
After fermentation, refrigerate the jars for at least 4 hours before serving. This final step allows the yogurt to set and develop its characteristic cool, refreshing quality.
Step 7: Serving
Once chilled, your coconut yogurt is ready to enjoy. Use a clean fork to serve. Remember, the initial batches might require a bit of practice to perfect your flavor profile and consistency.
Nutritional Information
Homemade coconut yogurt offers a nutrient-dense alternative to traditional dairy yogurt. Each serving (1/2 cup) typically contains:
Calories: Approximately 150-200 kcal
Protein: 2-5 grams
Fat: 10-15 grams (mostly healthy medium-chain triglycerides)
Carbohydrates: 5-10 grams
Fiber: 2-5 grams
Sugar: 2-8 grams (depending on added sweeteners)
This nutritional profile makes coconut yogurt an excellent choice for those following a dairy-free or vegan lifestyle. It’s also rich in healthy fats that support brain function and can help maintain stable blood sugar levels throughout the day.
Healthier Alternatives for the Recipe
You can further enhance the nutritional value of your coconut yogurt by making a few simple swaps. Consider replacing the sweetener with mashed dates or figs for natural sweetness and added fiber. For protein boosters, try adding a scoop of plant-based protein powder or chia seeds.
If you’re looking to reduce the glycemic index, using coconut water instead of regular water can help. This substitution adds electrolytes and may improve the overall gut health benefits of your yogurt. Remember, the key to healthier alternatives is maintaining the creamy texture while boosting nutritional content.
Serving Suggestions
The versatility of homemade coconut yogurt is one of its greatest strengths. Use it as a base for smoothie bowls topped with fresh fruits, nuts, and granola. It’s also an excellent substitute for sour cream in Mexican dishes or as a healthier dip for fruits and vegetables.
For breakfast, mix it with chia seeds and your choice of fruits for a protein-packed parfait. In desserts, it works beautifully as a healthier alternative to ice cream in frozen yogurt recipes. Experiment with different toppings and additions to discover your favorite combinations.
Common Mistakes to Avoid
Many home cooks encounter issues when making coconut yogurt for the first time. One common mistake is using cold coconut milk, which can prevent proper thickening. Ensure your coconut milk is at room temperature before starting.
Another frequent error is fermenting at too high a temperature, which can lead to overly sour results or even mold growth. Keep your fermentation temperature between 72-85°F (22-29°C) for best results. If your yogurt isn’t thick enough, you can extend the fermentation time or add more starter.
Finally, be careful not to incorporate too much air while mixing, as it can alter the texture. Gentle folding is essential for a smooth, creamy finish. Following these tips will help you avoid common mistakes and achieve results that look and taste professional.
Storing Tips for the Recipe
Proper storage is essential for maintaining the quality and flavor of your homemade coconut yogurt. Transfer the fermented yogurt to airtight containers once it’s ready. Label the containers with the date to ensure you consume it within two weeks.
If you need to store the yogurt longer, you can freeze it in portion-sized containers. Keep in mind that the texture may change slightly upon thawing, making it better suited for smoothies or baked goods. For optimal freshness, use an airtight lid or sealable bag to prevent exposure to air.
Refrigerate your coconut yogurt promptly after fermentation to slow down further culturing. If you need to prepare the yogurt ahead of time, store it in the refrigerator and allow it to culture for a shorter period before use.
Conclusion
Creating your own homemade coconut yogurt is a rewarding and health-conscious choice. With minimal ingredients and equipment, you can enjoy a creamy, dairy-free treat that’s packed with nutrients and free from artificial additives. This versatile yogurt can be enjoyed on its own or incorporated into countless recipes to enhance flavor and nutrition.
Start experimenting with different fruits, nuts, and seeds to create your signature flavor combinations. The beauty of homemade coconut yogurt is that you can customize it to suit your taste preferences and dietary needs. We’d love to hear about your creations in the comments below!
Ready to try this delicious dairy-free alternative? Share your favorite serving suggestions with us using the comment section below. Don’t forget to Homemade Coconut Yogurt as part of your healthy lifestyle journey!