Physical Address
304 North Cardinal St.
Dorchester Center, MA 02124
Physical Address
304 North Cardinal St.
Dorchester Center, MA 02124

Picture this: The aroma of perfectly seasoned chicken wafting through your kitchen, that satisfying sizzle as golden-brown pieces emerge from the pan, and the proud smile on your family’s faces as they bite into your homemade masterpiece. There’s something magical about recreating restaurant-quality Golden Chicken at home – it’s not just about the food, it’s about the love, the accomplishment, and those precious moments shared around the dinner table. Today, I’m going to share the secrets that transformed my ordinary weeknight dinners into extraordinary culinary experiences.
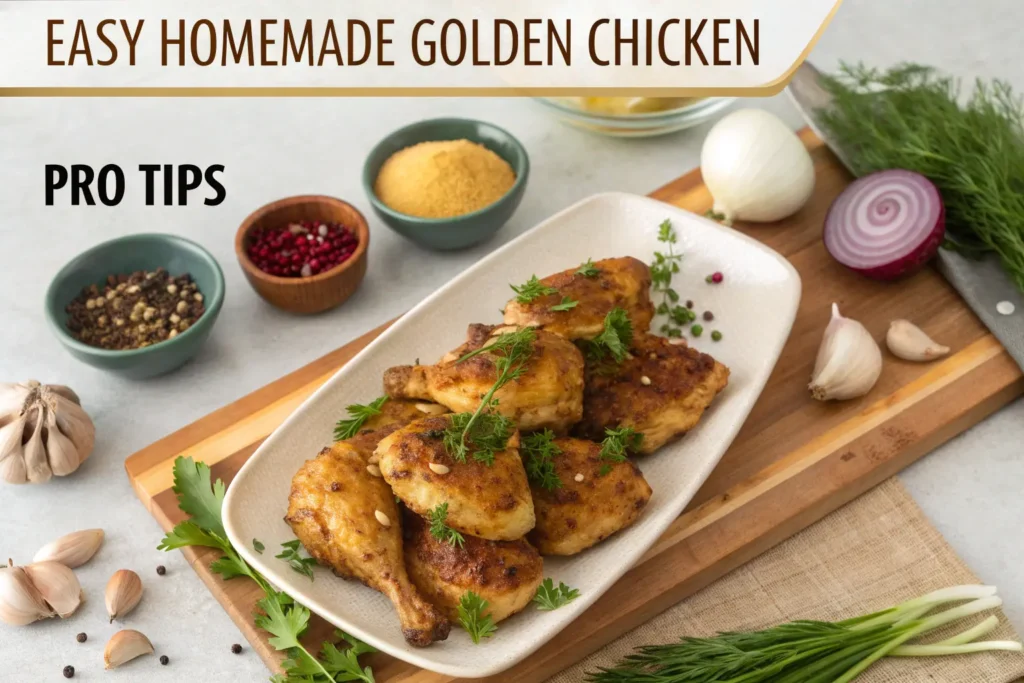
Golden Chicken stands apart from ordinary fried chicken through its distinctive crispy coating and vibrant color. The secret lies in the perfect balance of spices, particularly paprika, which creates that signature golden hue while adding depth of flavor. Unlike traditional fried chicken, this recipe emphasizes texture contrast – achieving an ultra-crispy exterior that gives way to incredibly juicy, tender meat inside.
The magic happens through a carefully orchestrated marinade process. Buttermilk acts as both tenderizer and flavor enhancer, breaking down tough protein fibers while infusing the meat with tangy richness. This technique, combined with precise seasoning ratios, elevates simple chicken pieces into restaurant-quality deliciousness.
| Category | Ingredient | Quantity | Purpose |
|---|---|---|---|
| Protein | Chicken pieces (thighs/drumsticks) | 2-3 lbs | Main protein |
| Marinade | Buttermilk | 2 cups | Tenderizing agent |
| Spices | Paprika | 2 tbsp | Color & flavor |
| Spices | Garlic powder | 1 tbsp | Aromatic base |
| Spices | Onion powder | 1 tbsp | Depth enhancement |
| Spices | Salt | 1 tbsp | Flavor foundation |
| Spices | Black pepper | 1 tsp | Heat balance |
| Coating | All-purpose flour | 2 cups | Crispy texture |
| Coating | Cornstarch | ½ cup | Extra crispiness |
| Oil | Vegetable oil | 4-6 cups | Frying medium |
Your choice of chicken significantly impacts the final result. Bone-in pieces retain moisture better than boneless cuts, while dark meat provides richer flavor than white meat. Free-range chicken offers superior taste, though conventional chicken works perfectly fine with proper preparation.
Fresh spices make an enormous difference. Ground spices lose potency over time, so replace anything older than six months. Paprika serves as the star player here – sweet paprika creates the golden color, while smoked paprika adds complexity.
Step 1: Prepare Your Chicken Begin by thoroughly cleaning your chicken pieces under cold running water. Pat each piece completely dry with paper towels – moisture prevents proper coating adhesion. Trim any excess fat or skin, but leave enough for flavor and texture.
Step 2: Create the Marinade In a large bowl, combine buttermilk with half your spice mixture. The acidity in buttermilk breaks down proteins, ensuring tender results. If you don’t have buttermilk, substitute regular milk with a tablespoon of lemon juice or vinegar.
Step 3: Marinate the Chicken Submerge chicken pieces completely in the buttermilk mixture. Cover and refrigerate for at least two hours, though overnight marination yields superior results. The longer marination time allows enzymes to work their magic, resulting in incredibly tender meat.
Step 4: Prepare Your Coating Station Set up three shallow dishes: one with seasoned flour mixture, one with beaten eggs, and one with additional seasoned flour. This double-coating technique creates maximum crispiness. Mix remaining spices into your flour, ensuring even distribution.
Step 5: Heat Your Oil Pour oil into a heavy-bottomed pot or large skillet, ensuring at least 2-3 inches depth. Heat oil to 325-350°F using a candy thermometer. Proper temperature control prevents soggy or burnt coating.
Step 6: Coat Your Chicken Remove chicken from marinade, allowing excess to drip off. Dredge each piece in seasoned flour, then beaten egg, then flour again. Press coating gently to ensure adherence. Let coated pieces rest on a wire rack for 10-15 minutes before frying.
Step 7: Fry to Perfection Carefully lower chicken pieces into hot oil, working in batches to avoid overcrowding. Fry for 12-15 minutes, turning once halfway through. The coating should develop a deep golden color while internal temperature reaches 165°F.

Maintaining consistent oil temperature separates amateur from professional results. Oil that’s too hot burns the coating before the inside cooks through. Oil that’s too cool creates greasy, soggy chicken. Invest in a reliable candy thermometer and monitor temperatures closely.
When adding chicken to oil, temperatures naturally drop. Increase heat slightly to compensate, then reduce once temperature stabilizes. This technique ensures even cooking throughout the frying process.
Double-Coating Technique: The egg wash between flour coatings creates an extra crispy layer. Some cooks add a tablespoon of marinade to the egg wash for additional flavor.
Resting Period: Allowing coated chicken to rest before frying helps the coating adhere better and prevents it from falling off during cooking.
Proper Draining: After frying, drain chicken on a wire rack rather than paper towels. This prevents steam from making the bottom soggy.
Soggy Coating: Usually results from oil temperature being too low or overcrowding the pan. Maintain proper temperature and fry in smaller batches.
Dry Chicken: Overcooking or insufficient marination causes dryness. Use a meat thermometer and don’t exceed 165°F internal temperature.
Uneven Browning: Inconsistent oil temperature or improper turning creates uneven results. Monitor temperature closely and turn pieces only once during cooking.
Store leftover Golden Chicken in the refrigerator for up to three days. For best reheating results, use your oven at 375°F for 10-15 minutes on a wire rack. This method restores crispiness while heating the meat evenly.
Avoid microwaving, which creates steam and ruins the crispy coating. Air fryers work excellently for reheating, using 350°F for 5-7 minutes.
Southern Style: Add cayenne pepper and dried thyme for traditional Southern flavor.
Asian-Inspired: Include ginger powder and five-spice for an Eastern twist.
Herb-Crusted: Incorporate dried rosemary, oregano, and basil for Mediterranean flair.
Gluten-Free: Substitute almond flour or gluten-free flour blend for regular flour.
Lower-Sodium: Reduce salt content and increase herbs and spices for flavor.
Baked Version: For healthier preparation, bake at 425°F for 35-40 minutes, turning once.

How long should I marinate Golden Chicken for the best results? For optimal Golden Chicken flavor and tenderness, marinate for at least 2 hours, though 4-24 hours produces the best results. The buttermilk enzymes need time to break down proteins effectively.
What’s the secret to getting the perfect golden color in Golden Chicken? The golden hue comes from paprika in the seasoning blend and maintaining oil temperature between 325-350°F. Too hot burns the coating; too cool prevents proper color development.
Can I make Golden Chicken without a deep fryer? Absolutely! Golden Chicken works perfectly in a heavy-bottomed pot or large skillet with 2-3 inches of oil. A candy thermometer remains essential for temperature control.
Why is my coating falling off during cooking? Coating adhesion improves with proper drying after marinating and allowing breaded chicken to rest for 10-15 minutes before frying. The resting period helps the coating bond securely.
Mastering Golden Chicken at home transforms ordinary dinners into extraordinary experiences. The combination of proper technique, quality ingredients, and attention to detail creates restaurant-quality results that will impress family and friends alike.
Remember that perfection comes with practice. Each batch teaches you something new about temperature control, timing, and technique. Don’t be discouraged if your first attempt isn’t perfect – even professional chefs took time to master their craft.
The satisfaction of creating crispy, golden perfection from simple ingredients makes every step worthwhile. Whether serving it for Sunday dinner or special occasions, your homemade Golden Chicken will become a treasured family recipe passed down through generations.