Watch the step-by-step cooking video at the bottom of the recipe!👇
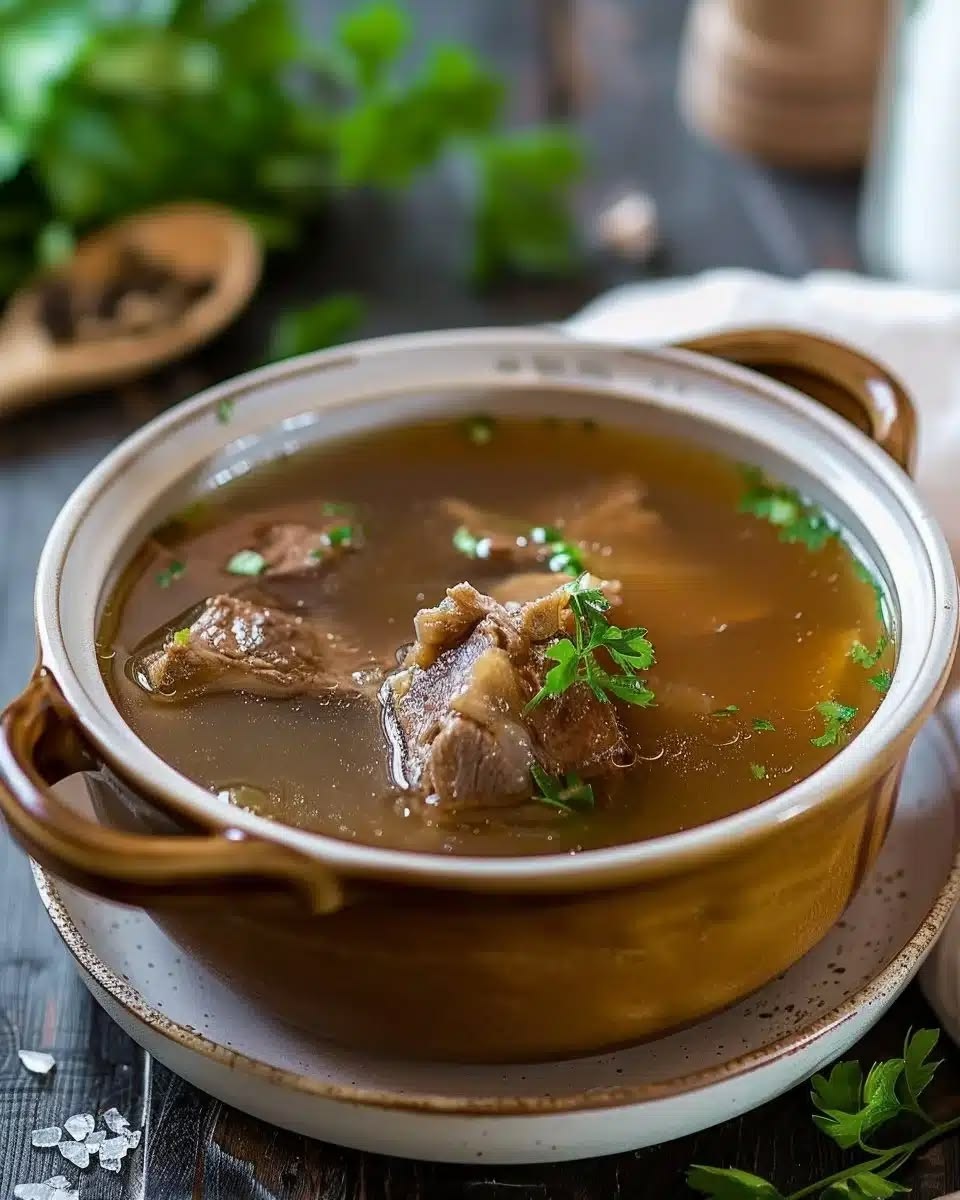
Bone broth is a nutrient-rich, flavorful liquid made by simmering bones, vegetables, and herbs for an extended period. Known for its health benefits, including supporting joint health, improving digestion, and boosting immunity, bone broth is a staple in many kitchens. Making it at home is simple and allows you to control the ingredients for a fresh, wholesome broth.
Ingredients
2–3 pounds (900–1,360g) beef, chicken, or turkey bones
1 large onion, quartered
2 carrots, chopped
2 celery stalks, chopped
3–4 cloves garlic, smashed
2 tablespoons apple cider vinegar (helps extract nutrients from the bones)
1–2 bay leaves
1 teaspoon black peppercorns
Salt, to taste
Optional herbs: thyme, parsley, rosemary
12–16 cups water
Preparation Steps
Step 1: Prepare the Bones
If using raw bones, roasting them in the oven at 400°F (200°C) for 30–40 minutes enhances the flavor.
Place the bones in a large stockpot or slow cooker.
Step 2: Add Vegetables and Seasonings
Add onions, carrots, celery, garlic, and any herbs or spices you’re using.
Pour in apple cider vinegar and water, ensuring the bones are fully submerged.
Step 3: Simmer the Broth
Bring the mixture to a gentle boil, then reduce heat to low.
Cover and let it simmer:
Chicken bones: 6–8 hours
Beef bones: 12–24 hours
Occasionally skim off any foam or impurities that rise to the top.
Step 4: Strain the Broth
Remove bones and vegetables.
Strain the liquid through a fine-mesh sieve or cheesecloth for a clear broth.
Step 5: Store and Use
Let the broth cool to room temperature.
Store in airtight containers in the refrigerator for up to 5 days or freeze for up to 3 months.
Use as a base for soups, stews, sauces, or enjoy as a warm, nourishing drink.
Use a mix of marrow, knuckle, and meaty bones for richer flavor and higher collagen content.
Add a splash of vinegar at the start to help extract minerals from the bones.
Avoid boiling too vigorously; a gentle simmer ensures a clearer, more flavorful broth.
Making bone broth at home is simple, healthy, and versatile. With minimal ingredients and slow cooking, you can create a rich, nourishing broth that enhances the flavor of countless dishes while supporting your health.